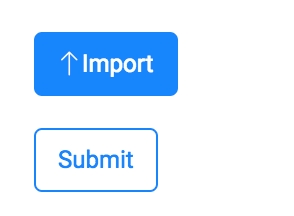
Import
Guide to using the Import widget in Isthmus
Importing data is a common workflow for users of a location intelligence application. Isthmus includes an importing feature to Import data and render it in your app. This requires a method of adding it from the client as well as customizations on the server as well.
Client
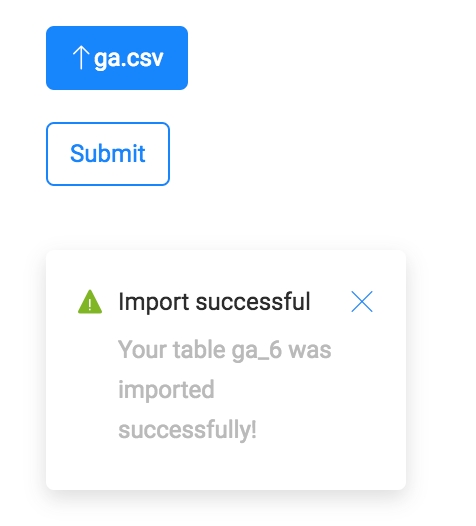
Redux will also dispatch an action that will save the new file to the application state so it can be used further. It can be accessed through this.props.layers.{TABLE_NAME} with the same set of properties as any other layer.
Server
You must also make some modifications to the server/server.js file. First you will need to add you credentials to the importer:
Next, you will have to designate the page and privacy of the imported file in this section of code:
This will set up the importer to work on the page that you have designated.
Testing
To test the import, you first need to create a compiled version of your application.
You can use yarn run build or yarn run prod to do this.
Next, run yarn run start to run the server. You can also use yarn run start-dev to use Nodemon to test if you are making modifications to the server file. Modifications to the client side code will not take effect.
Customization
You can customize what happens to the file in the .../Import.js file for more specific use cases. The app uses Axios to post the file to the server.
Last updated